First day cover ·
A Practical Fridge Storage System to Reduce Food Waste and Grocery Costs
Set the fridge to 40°F or below, store foods in the right zones and track leftovers to help groceries last longer and avoid waste.
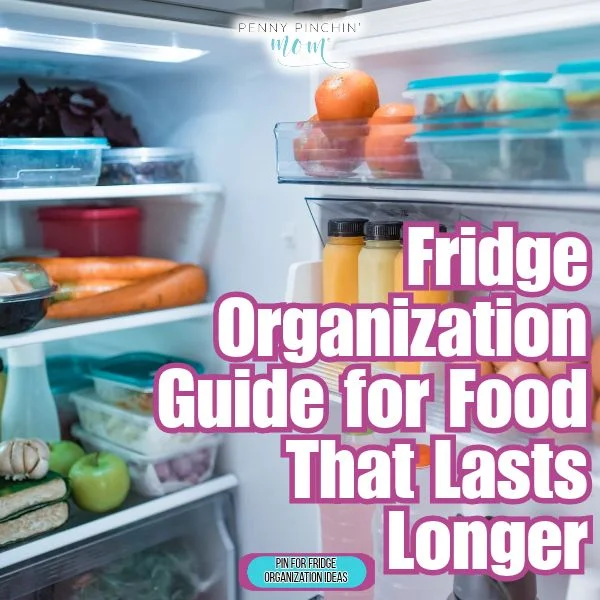
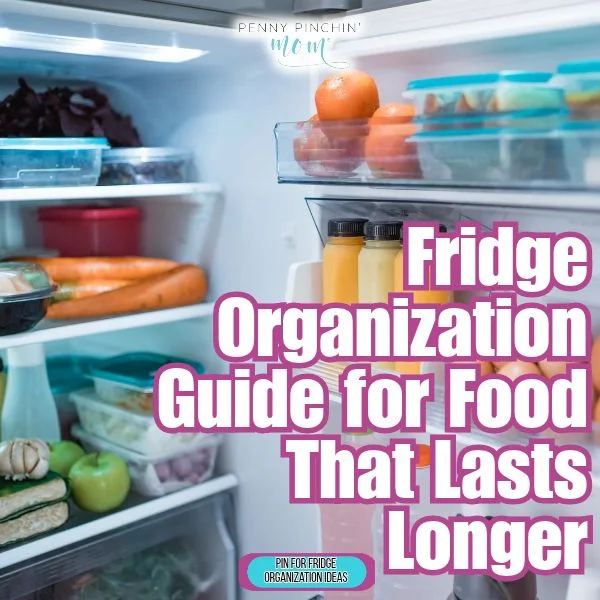
A well-organized fridge can help a household use groceries before they spoil. The biggest gains come from keeping the temperature at 40°F or below, putting foods where they stay cold and safe, and making older items easy to spot. A few habits can also make weekly grocery unloading quicker and cut down on forgotten leftovers.
Start with the temperature
Set the refrigerator to 40°F or below and the freezer to 0°F. These are the temperatures given in the source guidance from the FDA. Bacteria multiply fastest between 40°F and 140°F, so a fridge that runs warmer can shorten the safe storage window for food.
Many fridge dials use numbers rather than degrees, which makes the setting hard to verify. A standalone thermometer typically costs $6 to $15. Put one on a middle shelf and check it the next morning before opening the door. If the reading is above 40°F, turn the control one notch colder and check again in 24 hours. Repeat until the temperature is in range.
Cold air tends to sink, and cooling vents are often near the back, so the lower shelves toward the rear are commonly coldest. The door is usually warmest because it is exposed to room-temperature air whenever it opens. The pattern depends on the fridge: in many French door models, the coldest area is at the back of the bottom shelf; in side-by-side units, lower shelves along the freezer-adjacent wall may be colder, with a 3 to 5°F difference across one shelf.
To find the cold spots in your own fridge, leave a thermometer on one shelf for a day, then move it to another. Checking the top shelf, bottom shelf and door over three days gives you a more useful guide than relying on a general layout.
Give each food group a place
Use the top shelf for ready-to-eat food and leftovers: covered containers, deli meat, hummus, yogurt, drinks, cooked rice or pasta, and packed lunches. These foods won’t be cooked again, so keep them above raw meat, where leaking packages can’t drip onto them. When you add a new container, move older food to the front. That first-in, first-out habit makes the next meal easier to choose.
Put dairy and eggs on the middle shelves, where temperatures tend to be steadier. Store milk toward the back rather than in the door, even if the fridge has a milk compartment there. Leave about 2 inches of space around containers to help cold air circulate; a tightly packed shelf can develop warmer spots.
Keep raw meat, poultry and fish on the bottom shelf. This is often one of the coldest areas, and the low position helps prevent drips from reaching other food. Set packages on a rimmed tray or in a plastic bin to catch leaks. Thaw frozen meat in the fridge on the same shelf, inside a tray, rather than on the counter.
Use crisper settings to manage moisture
The crisper drawer slider controls a vent that lets moisture escape or keeps it inside. Use the high-humidity setting, with the vent closed, for leafy greens, lettuce, spinach, herbs, broccoli and carrots. These foods lose moisture and wilt. Use low humidity, with the vent open, for apples, pears, avocados, peaches and melons. These fruits release ethylene gas as they ripen, and the open vent helps it escape.
Keeping apples beside lettuce can cause the greens to spoil sooner. If your fridge has just one drawer, reserve it for produce and set it to high humidity. Put fruit in a bowl on a middle shelf, and keep raw meat out of the drawer.
Store eggs and condiments where they belong
Keep eggs in their original carton on an interior shelf. The carton helps limit odor absorption and shows the pack date, while the shelf gives eggs a steadier temperature than the door. A built-in egg tray in the door may be convenient, but the door’s repeated temperature swings make it a less suitable spot for eggs.
Door storage works better for items that don’t spoil as quickly, such as ketchup, mustard, barbecue sauce, salad dressing, pickles, jam, syrup, water and soda. Keep milk, eggs and raw ingredients on interior shelves.
Use storage windows to plan meals
The following refrigerator times come from USDA FoodKeeper guidance and assume the fridge is at 40°F or below. They’re useful planning windows, not a substitute for handling food safely.
- Raw poultry, whole or cut up: 1 to 2 days.
- Raw ground beef or turkey: 1 to 2 days.
- Raw steaks and roasts: 3 to 5 days.
- Cooked meat and leftovers: 3 to 4 days.
- Raw eggs in the shell: 3 to 5 weeks.
- Milk: about 1 week.
- Opened hard cheese, such as cheddar or Swiss: 3 to 4 weeks.
- Soft cheese, such as ricotta or cottage cheese: about 1 week.
- Leafy greens: 3 to 7 days.
- Berries: 3 to 7 days.
- Deli meat sliced at the counter: 3 to 5 days.
Plan meals around the shortest windows first. For example, use chicken early in the week, then ground meat, and save steaks for later within their stated storage period.
Keep leftovers dated and chilled
Cooked leftovers generally keep for 3 to 4 days in the refrigerator. Don’t rely on smell, taste or appearance to decide whether food is safe; bacteria that cause foodborne illness may not change any of them.
Refrigerate leftovers within 2 hours of cooking. If the room is above 90°F, the guidance shortens that window to 1 hour. Divide a large batch among shallow containers so it cools more quickly, then label the containers with the date. A strip of masking tape on each lid makes the food’s age clear at a glance.
Make unloading and weekly resets easier
A consistent unloading order keeps cold groceries cold and helps each item land in the right place. Put frozen food in the freezer first. Then place raw meat, poultry and fish on the bottom shelf in a tray, followed by dairy and eggs on the middle shelves. Move produce into the crisper drawers according to its humidity needs, and bring older items forward before adding new ones. Put condiments and drinks in the door last.
A simple fridge map can help everyone in the household follow the same routine. Sketch the shelves, drawers and door bins on an index card and label each area: ready-to-eat food on top, dairy and eggs in the middle, raw meat on the bottom, greens in a high-humidity drawer, fruit in a low-humidity drawer, and condiments in the door. Put the card somewhere visible near the fridge.
Before a large grocery run, set aside 10 to 15 minutes to check dates against the storage windows, remove food that has passed its window, wash a shelf with warm soapy water, wipe the door bins and move food that remains to the front. That small reset creates space for new groceries and makes older items easier to use.
Turn the routine into less waste
Setting up the system takes about 20 to 30 minutes: check the temperature, reorganize the current contents and make a fridge map. After that, weekly unloading takes under five minutes. The payoff is practical: food is easier to find, leftovers are easier to track, and groceries are less likely to be discarded before they’re eaten.
These storage times and temperatures are general guidance from USDA and FDA sources. For foods not listed here, check USDA FoodKeeper, particularly when someone in the household is pregnant, older or immunocompromised. Start with the thermometer: confirming the fridge is at 40°F or below gives every other storage habit a reliable foundation.